
Related to GitHub repo „Elements-Generator“.
Sometime one wants to draw stuff using web technologies, to display fancy, interactive elements on a website. To do so there are many proper solutions available such as PixiJS which is allowing to do very cool stuff, based on WebGL. One could also just setup a canvas element and draw something on it, using JavaScript, use SVG’s and make these interactive (some of these examples you can see actually in action on my website).
Elements-Generator is a small Script which allows to generate CSS customizable elements, inside of a defined container element, wichs setup will be defined by a simple JavaScript object – no proper JavaScript Knowledge needed! So Elements-Generator is not about providing the best, performant solution at all, it is more an experimental, substitutional approach displaying several interactive elements on a website, editable using simple CSS.
So what can I do using Elements-Generator
In general one might generate several HTML-Elements within a defined container, adding a specific class name to these and remove it after a while again. The class will be added and removed randomly, related to an element, by a setted amount of time.
So one’ll be able to style these elements by simply using CSS. You can style the elements general appearance, set a hover states (and other CSS related states like focus, a.s.o.), and set a style by which will get triggered by the setted up class name gets added or removed. So you could set an animation for these elements, or just change there style, and so on.
Here are some example which I’ve done using Elements-Generator.
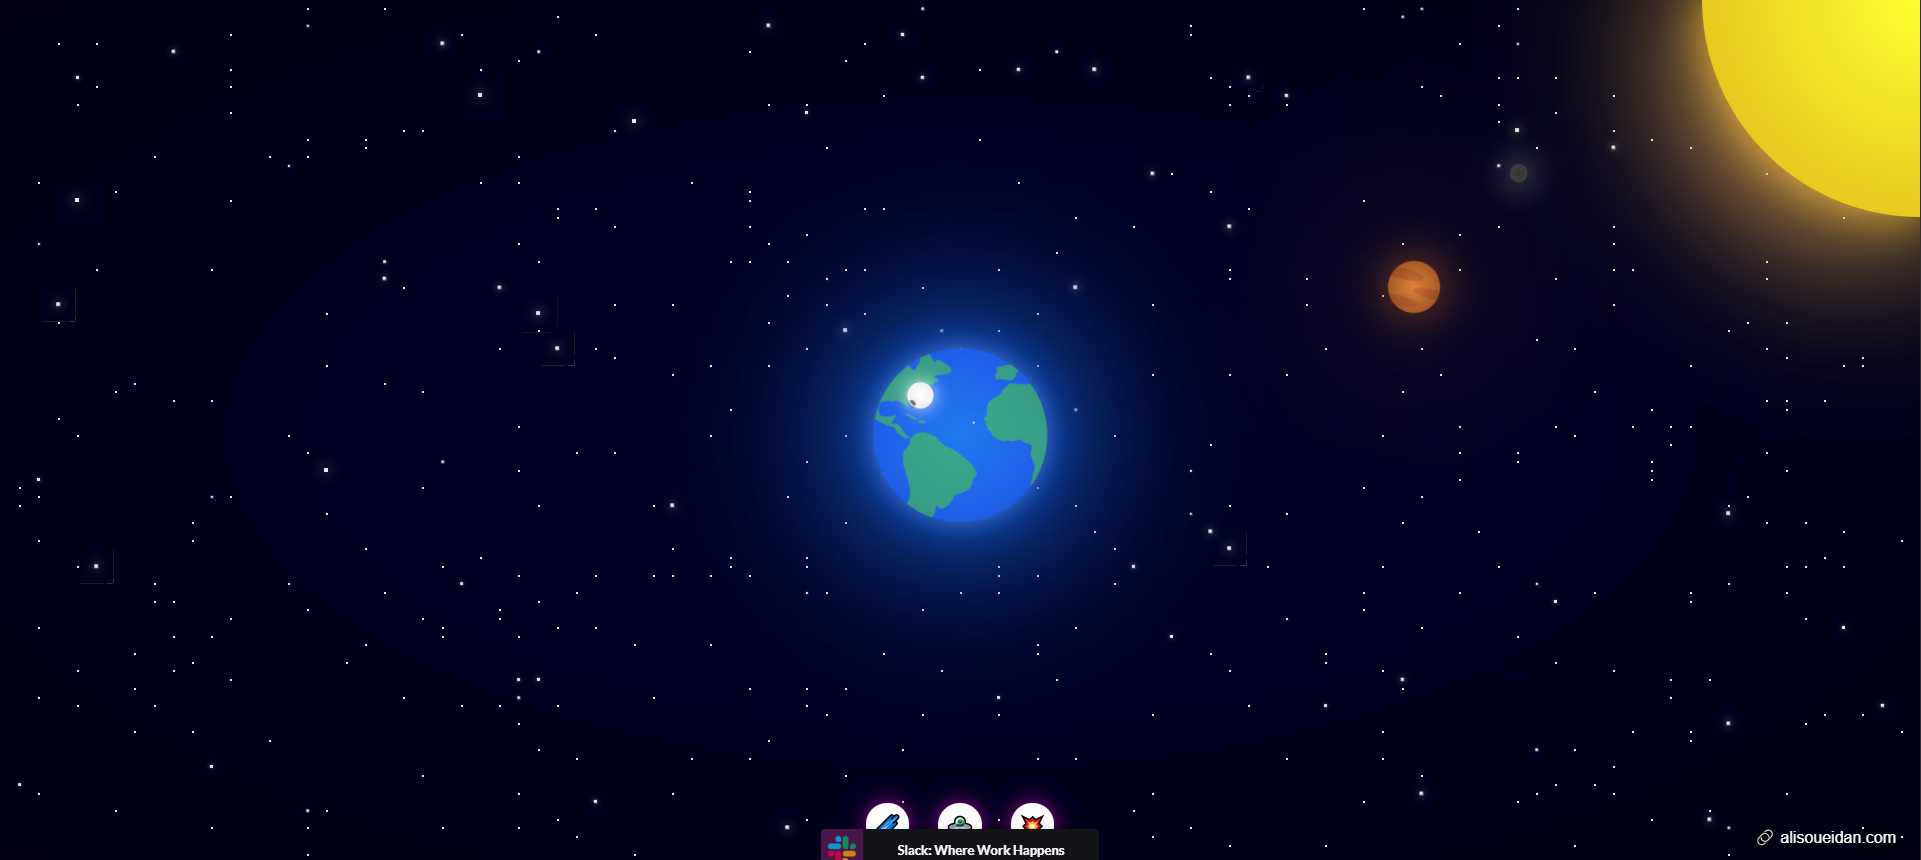
This is a pen on CodePen, called „Interactive solar system“, the blinking stars within the background are (as you can see within the code) getting styled and animated by simply using CSS, selecting the setted up class names, by using Elements-Generator.
More examples which I’ve done using this can be seen on the related CodePen collection.
An here is how it works
Include Elements-Generator Code
To Start using Elements-Generator just paste the Code somewhere inside your Javascript Code. If you don’t have a any JavaScript code or file you might just generate such and include it into your websites related markup file.
Creating the JavaScript object
To setup Elements-Generator just setup a JavaScript object named setStargazer (within your JavaScript- file or -tag.
Setting up the properties
Subsequently just add the properties and assign the associated values to them. The following properties are currently available for usage:
setStargazer = { };Subsequently just add the properties and assign the associated values to them. The following properties are currently available for usage.
quantity: Number,„quantity“ will setup how many elements will be generated inside of the afterwards defined html element. The quantity Value should be a Number.
selectContainer: String,The „selectContainer“ property will define the parent element of the elements which will be generated through Elements-Generator functions. The selection can throug an id (start string with #) or class name (start string with .) of an element. The value of the selectContainer property should be a string.
generateItemTag: String,The „generateItemTag“ property will setup which kind of HTML-Element will be outputted by Elements-Generator. You can define it as you like. It can be a div, span, paragraph or wht ever you like. Currently Mediacontent like images or videos are not alowed, but will be possible to add in a later version.
generateItemClass: String,The fundamental idea of Elements-Generator is to generate a high quantity of duplicated elements, inside a parent element to subsequently style them by simple CSS, without having JavaScript based knowledge. So the Elements can be fitted by a custom class name to set them as the designer wants them to.
setMorphClass: String,The „setMorphClass“ property allows the designer to set up a additional classname which will be haunted added and removed to the generated item. SO it can be animated by CSS by giving different attributes to itemClass and morphClass or add an animation to the morphClass.
setMorphSpeed: Number,The „setMorphSpeed“ property will set the interval speed, Elements-Generator will ad and remove the morphClass to an generated element.
setMorphSpeed: Number,The „setMorphQuantity“ property will set how many Elements will morph in a MorphSpeed execution.
So that’s all you need to know, by now!
Should you use this on you Website?
The Answer is simple – NO! This is more an experimental approach and should not be used on a Website wich depends on performance. Anyways, to have a closer look about what it is you can have a look at the related repo on GitHub (link to the related GitHub repo).